broke parts built XJ..slow progress

Underpowered

Full Access Member
Joined
Mar 28, 2010
Messages
118
Reaction score
0
Location
Independence, KY
probably just gonna use some of the same 1/8" plate i am using for my floor boards to build a small box. then make a little cup holder stand, use like a 3" hole saw to but holes in teh plate, use the part i cut out for the bottom of the holder, then weld on a few supports to hold it up, that way the holders won't hold water.

either that or take the easy route and buy an ammo box for a consol, and then buy so boat cup holders (the ones that swivel in all directions so you can't spill them), figured those would be great for wheeling, so i won't spill my pop.
 

kickitandholdit

Full Access Member
Joined
Mar 25, 2010
Messages
236
Reaction score
0
Location
south georgia
probably just gonna use some of the same 1/8" plate i am using for my floor boards to build a small box. then make a little cup holder stand, use like a 3" hole saw to but holes in teh plate, use the part i cut out for the bottom of the holder, then weld on a few supports to hold it up, that way the holders won't hold water.

either that or take the easy route and buy an ammo box for a consol, and then buy so boat cup holders (the ones that swivel in all directions so you can't spill them), figured those would be great for wheeling, so i won't spill my pop.

wow an ammo box i never thought of that haha damn thats a cool idea! i might half to empty all the muzzle loading stuff out of mine and do that lol

do a build thread of whatever you do lol
 

Shaggy

Administrator
Staff member
Joined
Mar 13, 2010
Messages
643
Reaction score
0
Location
Arizona
I like to see how that ammo box turns out. Pics pics and more pics!
 

Underpowered

Full Access Member
Joined
Mar 28, 2010
Messages
118
Reaction score
0
Location
Independence, KY
i am pretty sure i am gonna leave the stock stuff out, and remove the parking brake assembly, as it is not used anyway, and do the ammo box thing.

and i'll get pics up as soon as it quits freaking raining.
 

Underpowered

Full Access Member
Joined
Mar 28, 2010
Messages
118
Reaction score
0
Location
Independence, KY
Update on the Heep!

Finally got all broke parts replaced and ready to rock and roll again.....kinda.

final tally of broken Chit.

both lower control arms, front and rear drive shafts, np242 T-case, 1 front shock, and both UCA are bent but driving on them anyway.

pass. side LCA
DSCN1509.jpg

driver side LCA
DSCN1510.jpg

new LCA's on
DSCN1512.jpg


pass UCA
Pinky002.jpg


busted NP242 output
DSCN1507.jpg


new NP231 with SYE and CV shaft
Pinky005.jpg


filled the Tcase with ATF today, replaced the front shock and even changed the oil.

all that is left to do before its next outing is to weld in my new floorpans and paint the interior with bedliner, then re-assemble it.
 

Underpowered

Full Access Member
Joined
Mar 28, 2010
Messages
118
Reaction score
0
Location
Independence, KY
upper arms are only tweaked slightly, and as it is a trail only jeep, i am not overly concerned about them. rear leaves are my next major concern. might either build some new bastard packs or just man up and buy some off the shelf springs and shackles
 

Underpowered

Full Access Member
Joined
Mar 28, 2010
Messages
118
Reaction score
0
Location
Independence, KY
thoughts on a rear stretch?

thinking of replacing the rear leaf springs this winter. if i do, gonna mount them backwards, giving me about 5" or so of rear stretch. good idea? bad? i know alot of other work must be done to do so. longer D-shaft, brake lines, re-located fuel tank, shock mounts. etc. but 106.4 wheelbase is much more appealing to me than a 101.4" wheelbase.
 

Underpowered

Full Access Member
Joined
Mar 28, 2010
Messages
118
Reaction score
0
Location
Independence, KY
big things are a comin'

cage will be here in a couple weeks, re-doing front bumper as well as building a rear bumper for it. rear-stretch of atleast 5", possibly as much as 7" to come this winter.
 

Underpowered

Full Access Member
Joined
Mar 28, 2010
Messages
118
Reaction score
0
Location
Independence, KY
Time to install a cage in the Old Heep.

Labor day weekend i flopped the jeep on its side while out wheeling. didn't really scare me, as i figured it would happen sooner or later. but it did bring to light that it really can happen, and it could end up much worse than a simple easy flop on one side.

so a cage was Ordered from S And W race cars. it is a 10 point HREW cage. sure DOM would have been better, but for what it is going in, the Jeep is not a serious enough rig to try anything huge, nor will it go fast enough to endure a high speed roll, so HREW it is.

cage arrived at my door step yesterday, install began today.

removed the majority of the Interior and broke out the grinder on the floor boards. turns out the drivers side simply crumbled under the grinder. so a plate was needed. just had some .120 plate on hand, so it was cut and tacked in.

here you can see the plate on teh driver side. one was added to match to the other side as well for continuity, but the floorboard was in much better condition on that side.
DSCN3714.jpg

DSCN3715.jpg


got it all tacked in, then added the provided 6"x6"x 1/8" steel mounting plates to it for tube support.

next the Main hoop was placed in position. decided where i like it at and tacked it in.
DSCN3717.jpg

DSCN3718.jpg


thats about where work on it stopped for the night. next to go in will be the rear support bars, but sine my XJ has been chopped it will require some modification to get them in place.

but i did re-mount my newly painted bumper tonight as well.
DSCN3719.jpg
 

Dave

Super Moderator
Joined
Jun 17, 2010
Messages
638
Reaction score
0
Location
Upstate NY
Awesome build thread Tyler. I have been following it along. You do good work.

Dave
 

Underpowered

Full Access Member
Joined
Mar 28, 2010
Messages
118
Reaction score
0
Location
Independence, KY
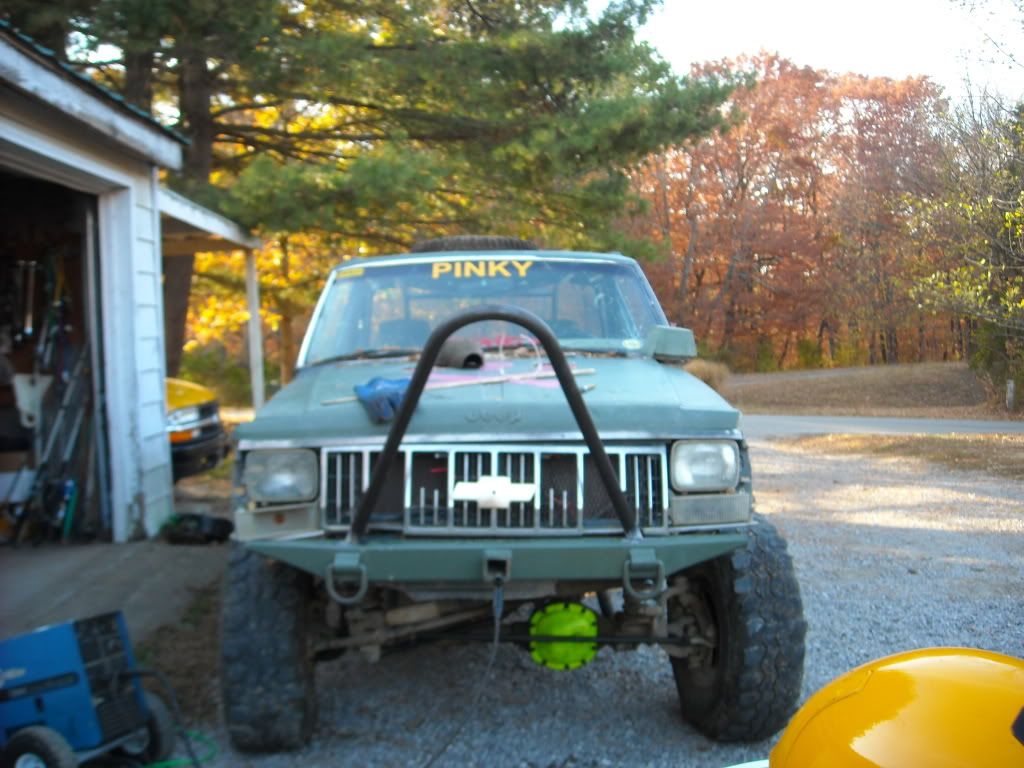
thanks Dave, i try to do the best i can with what little i have to work with.

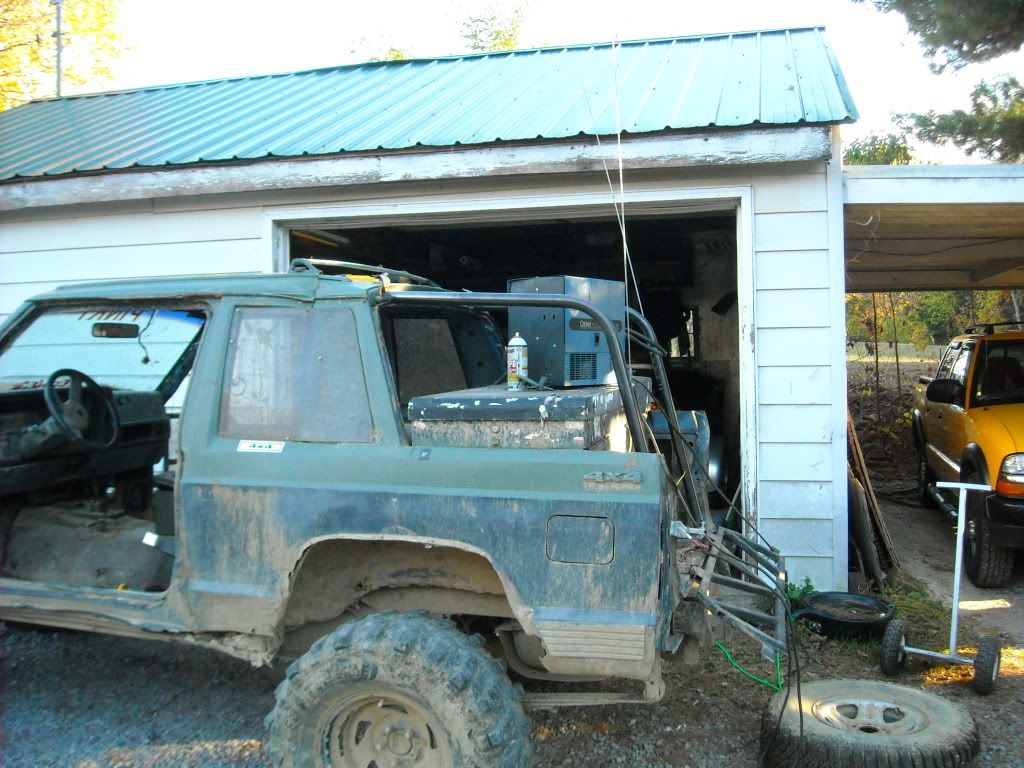
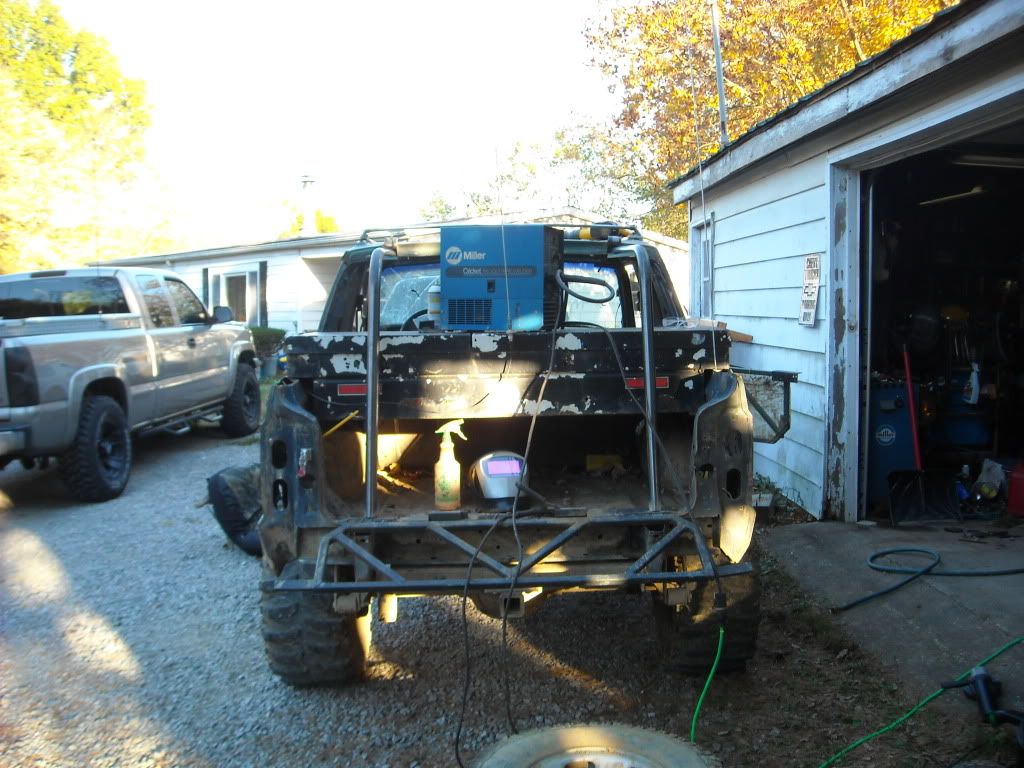
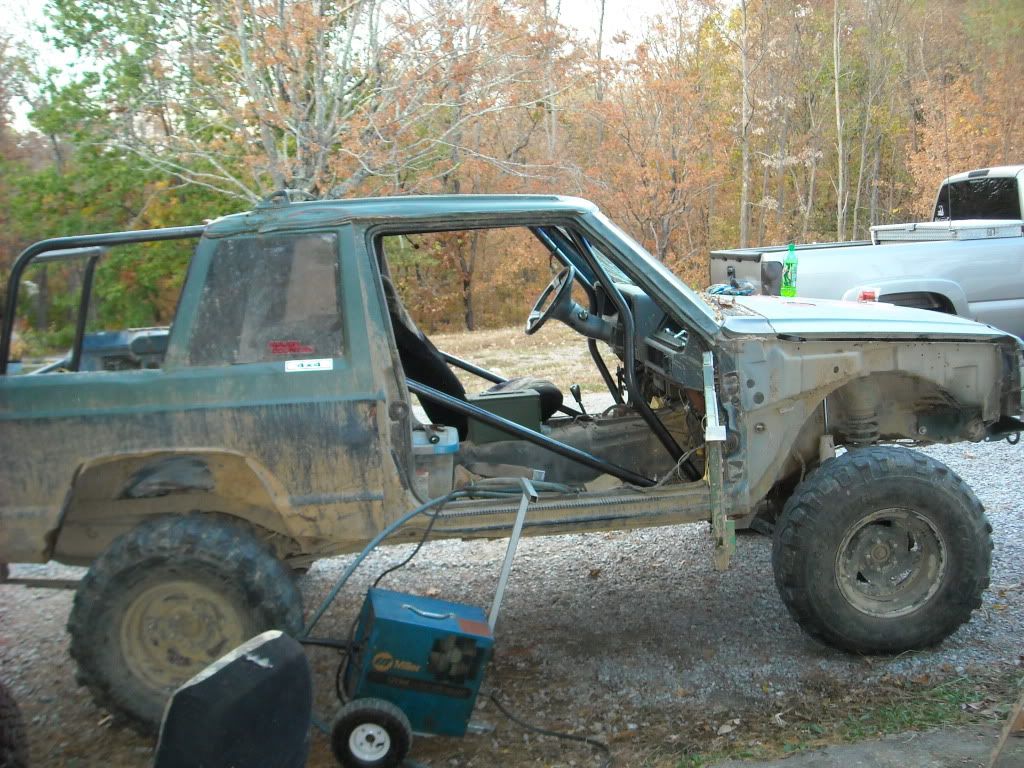
got more work done today.

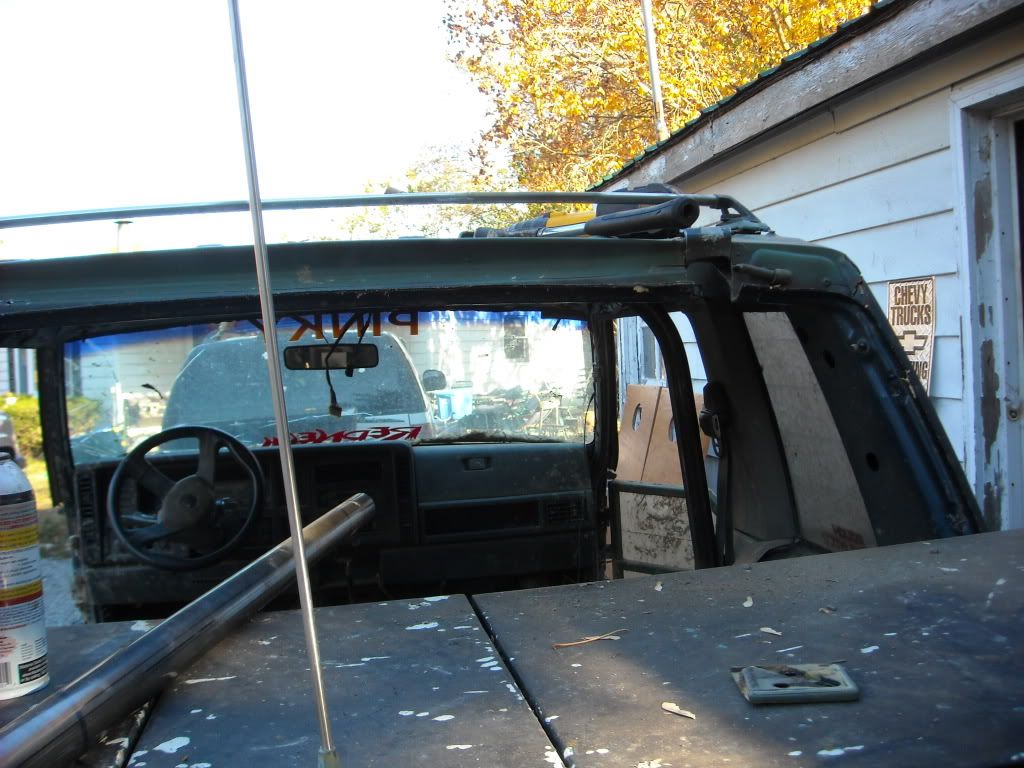
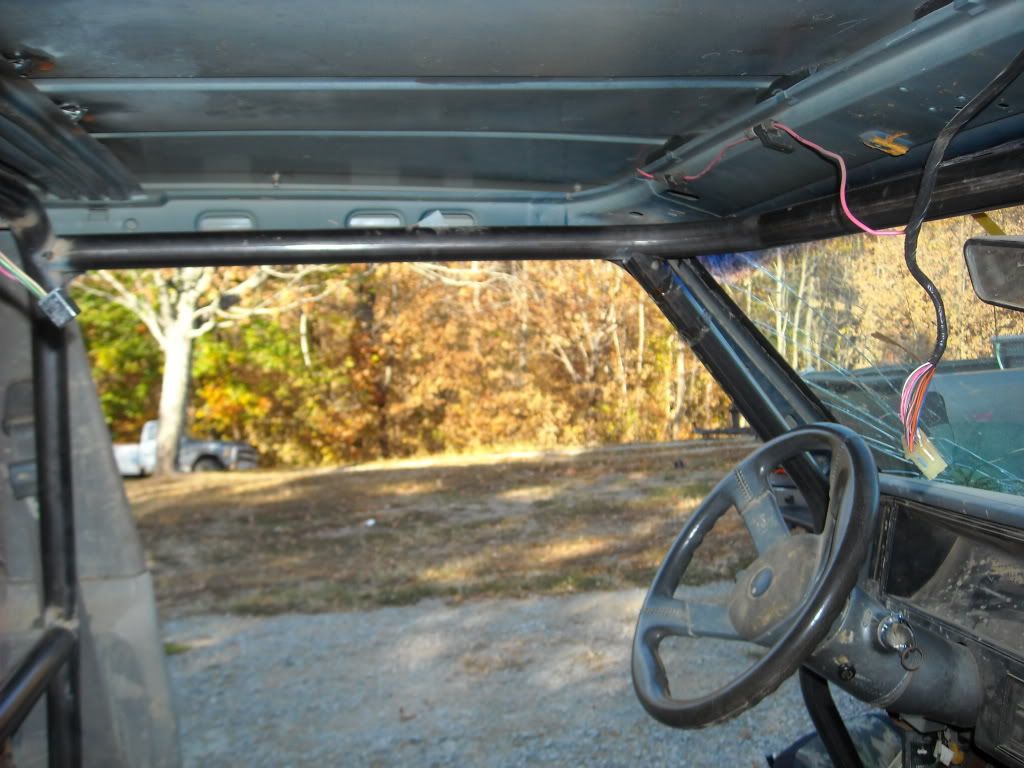
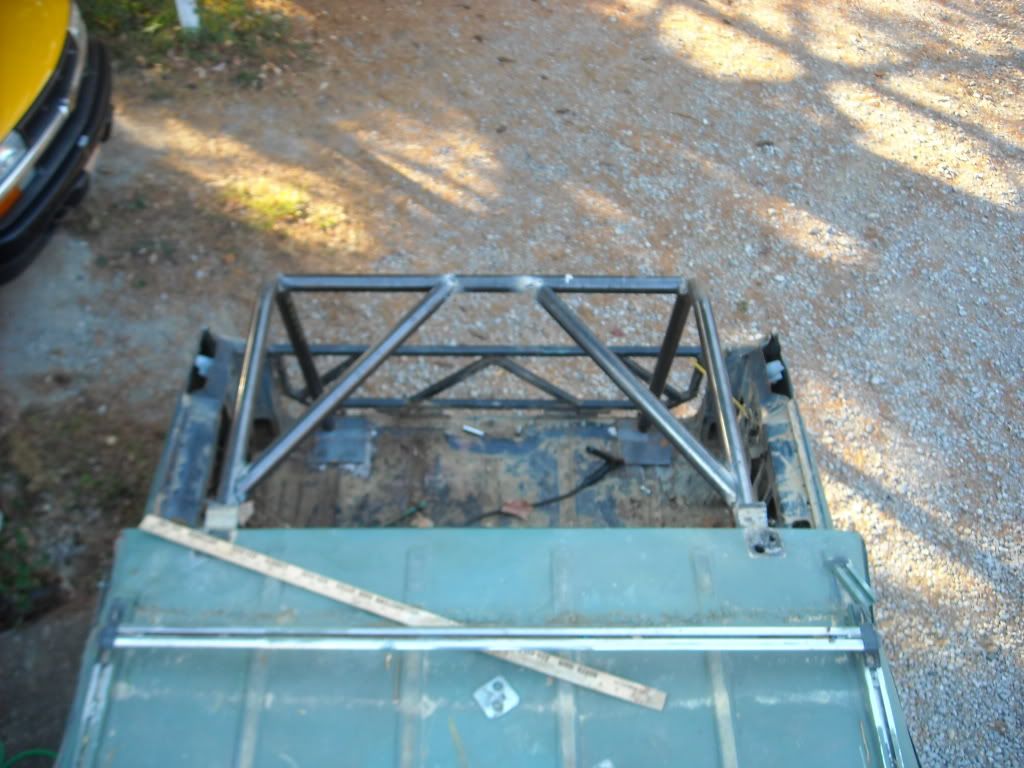
where it has been chopped, the section where the hatch used to sit is lower than the rest of the roof, so it had to be notched out for the tubes to slid through.
DSCN3720.jpg


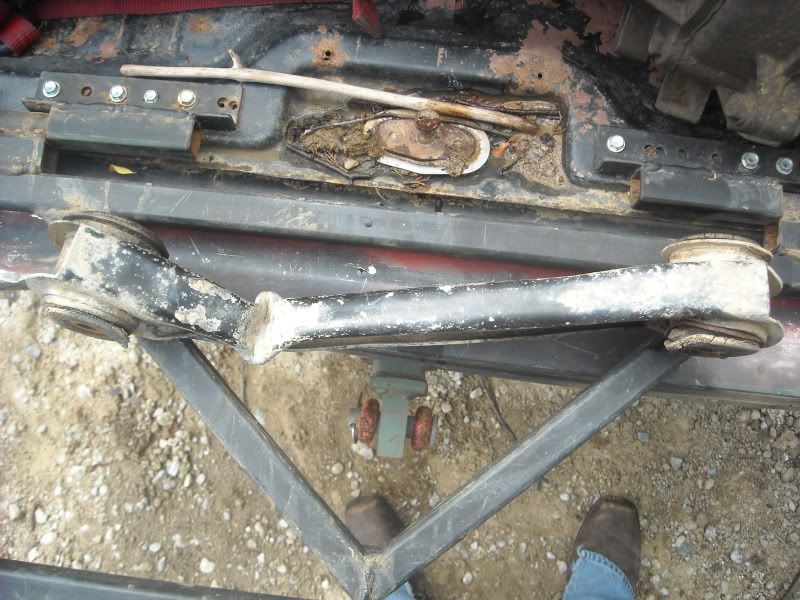
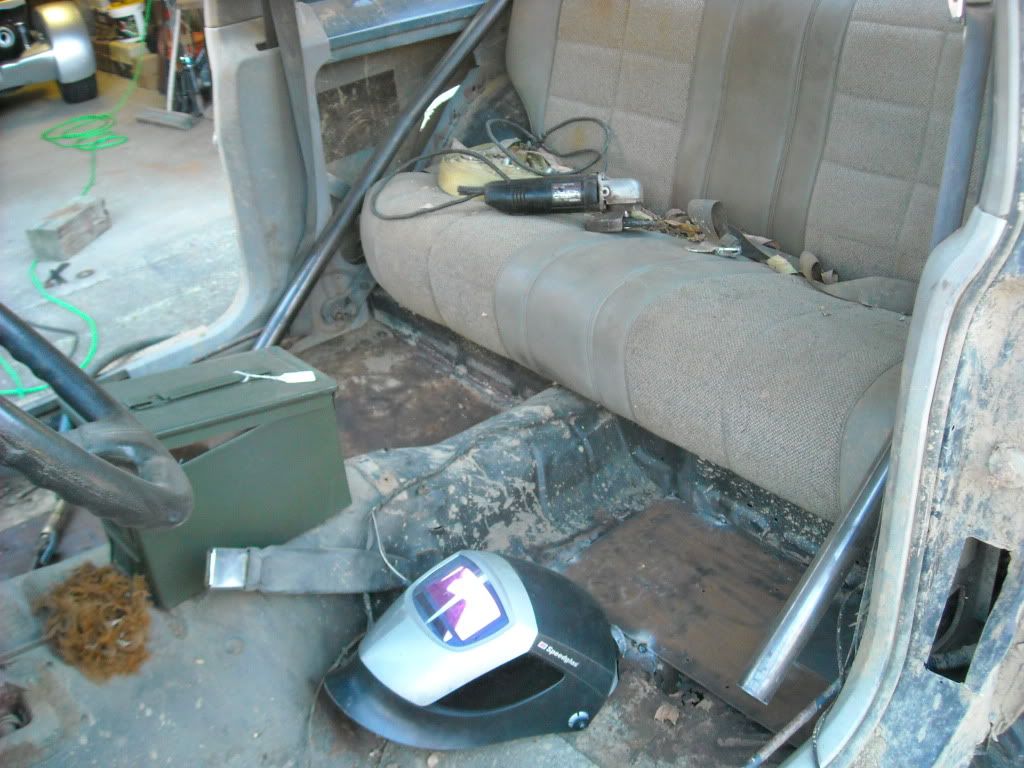
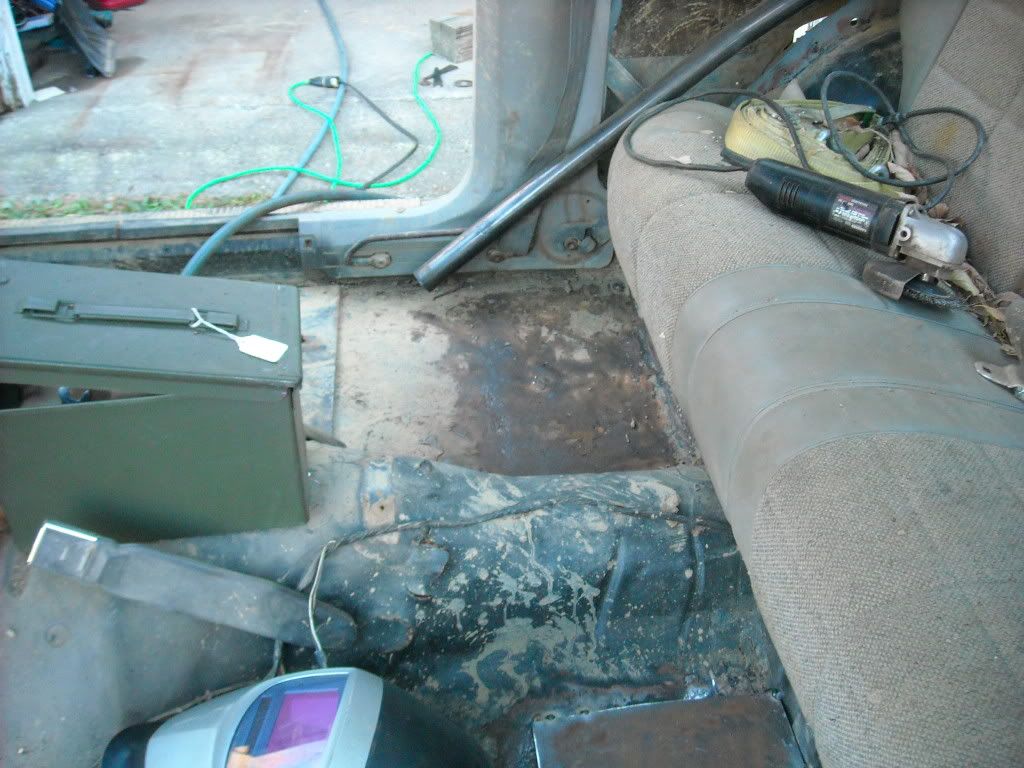
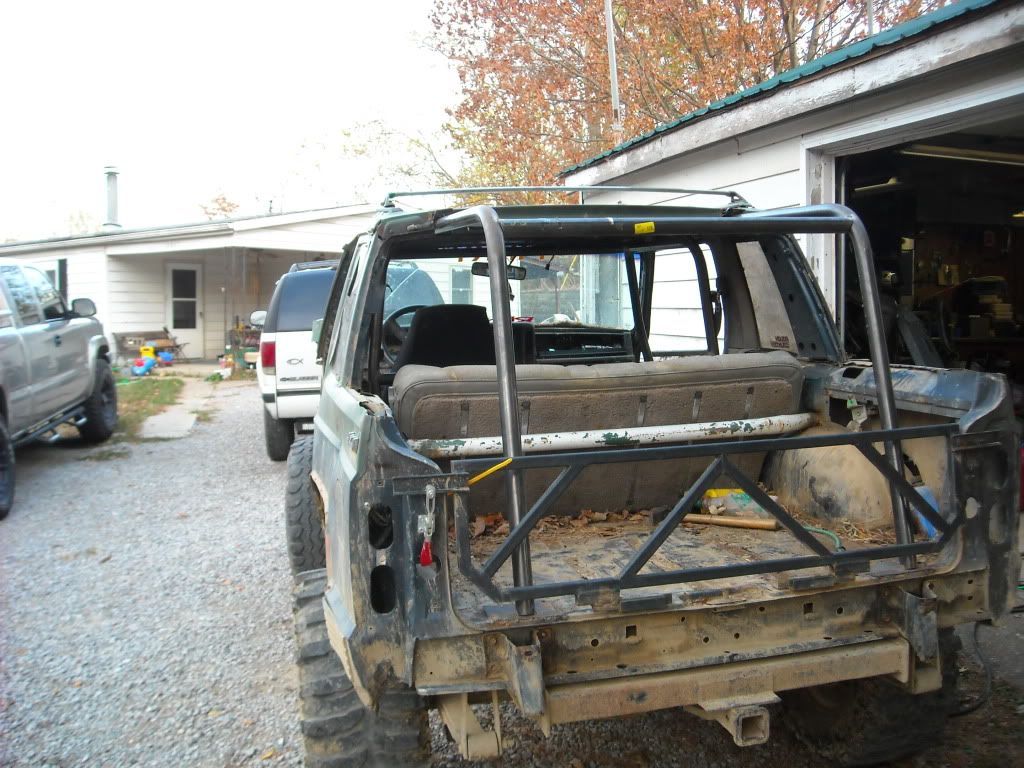
then floor plates were bent and welded in. due to the contour of the floor and my placement of the main hoop, the bottom of the rear support is litterally as far back as it could possibly have gotten. floor plates required two bends in them to get them to lay flat for a good welding surface. this was simply done via a BFH and a bench vise.
DSCN3721.jpg

DSCN3723.jpg


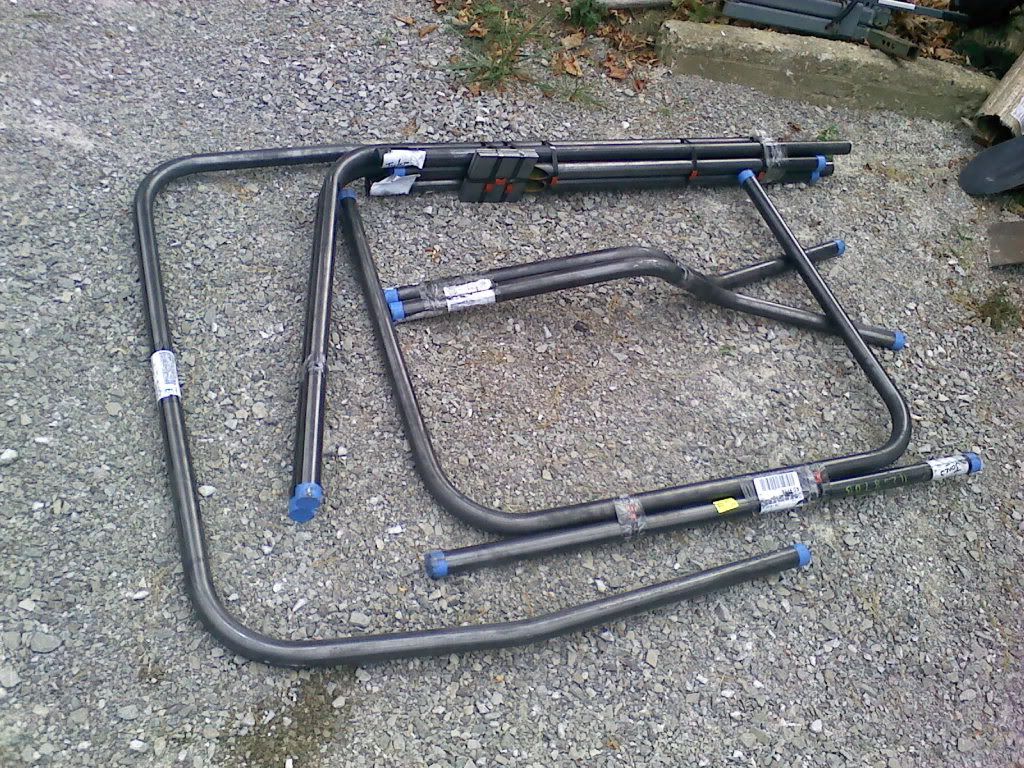
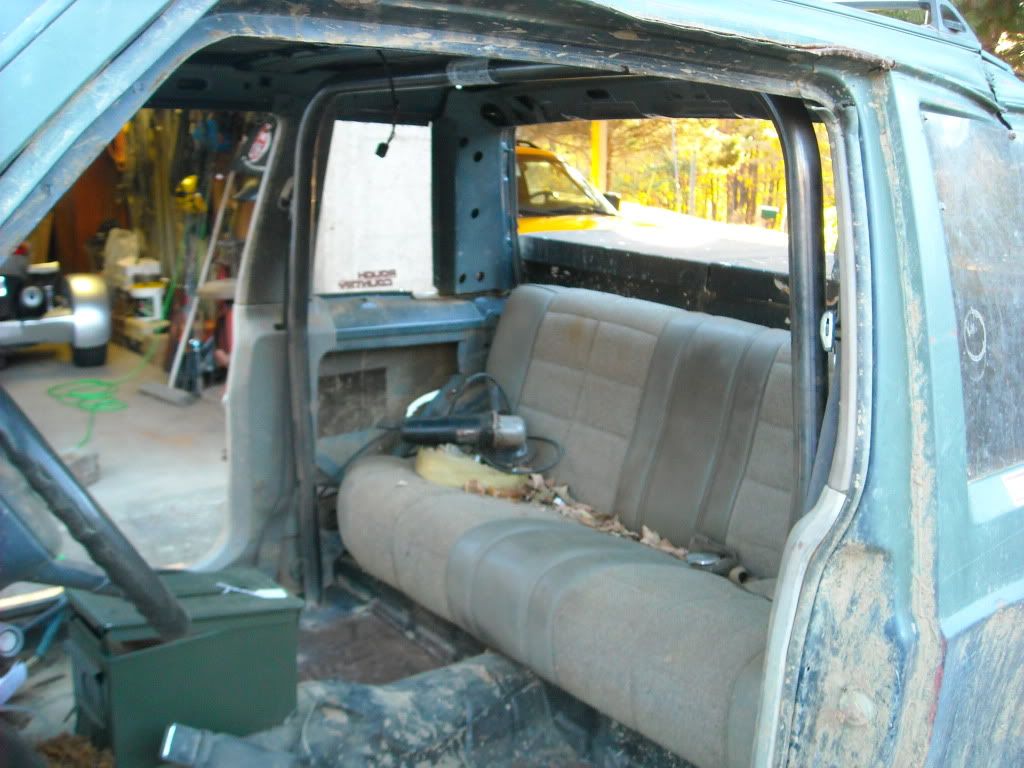
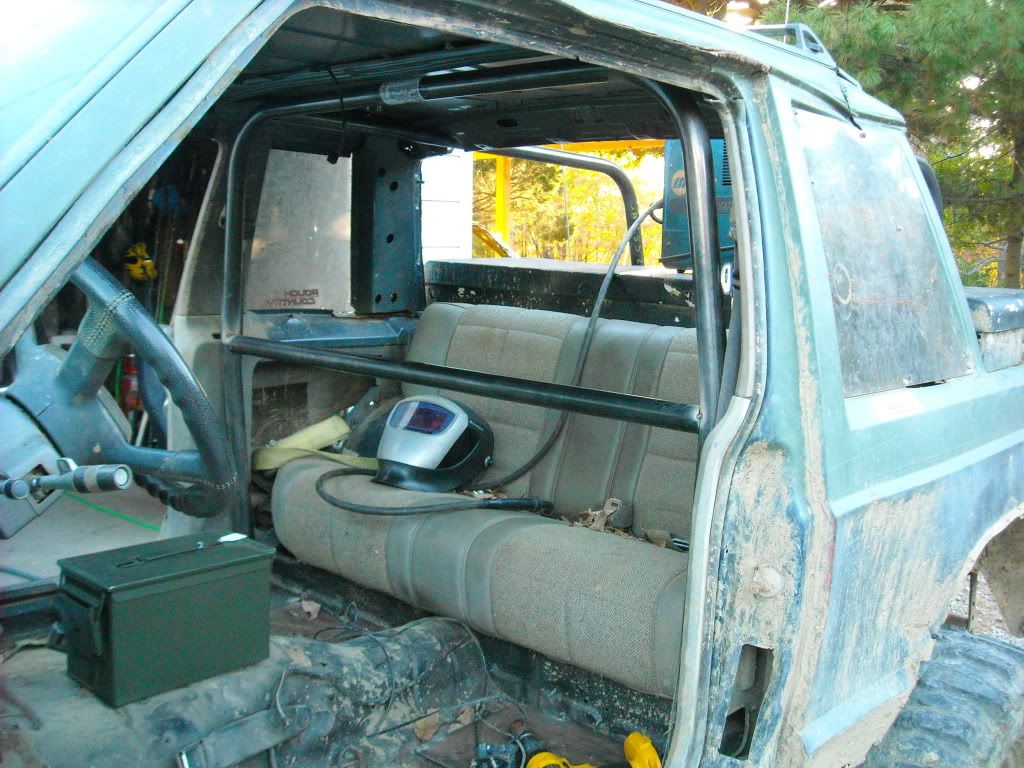
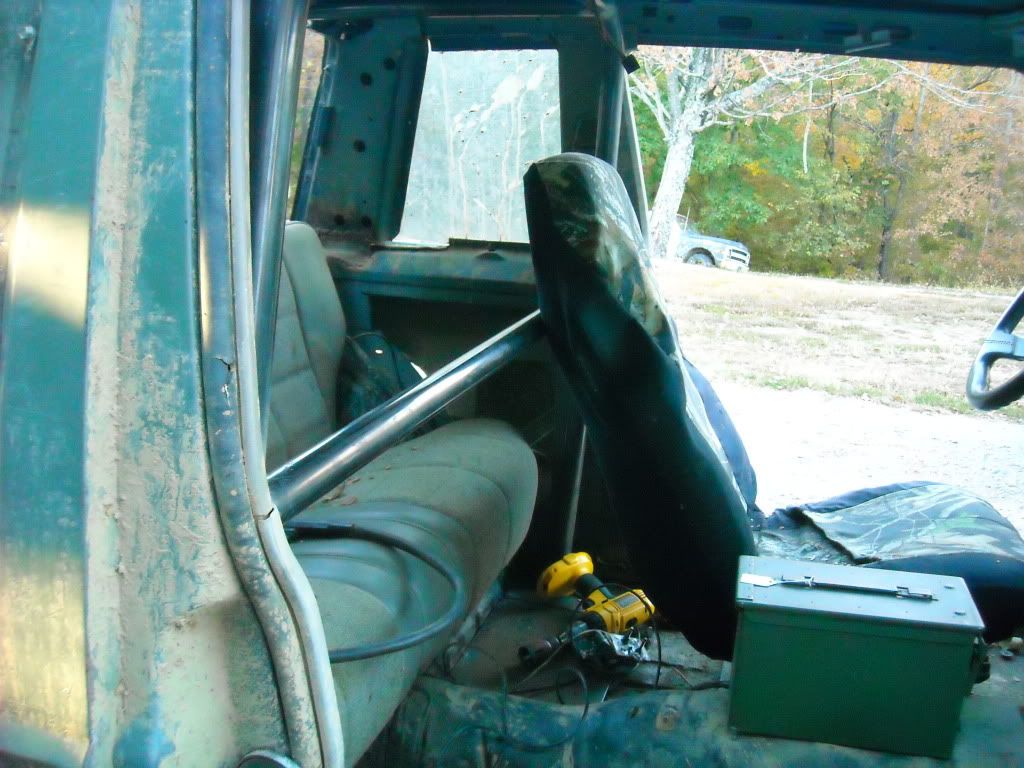
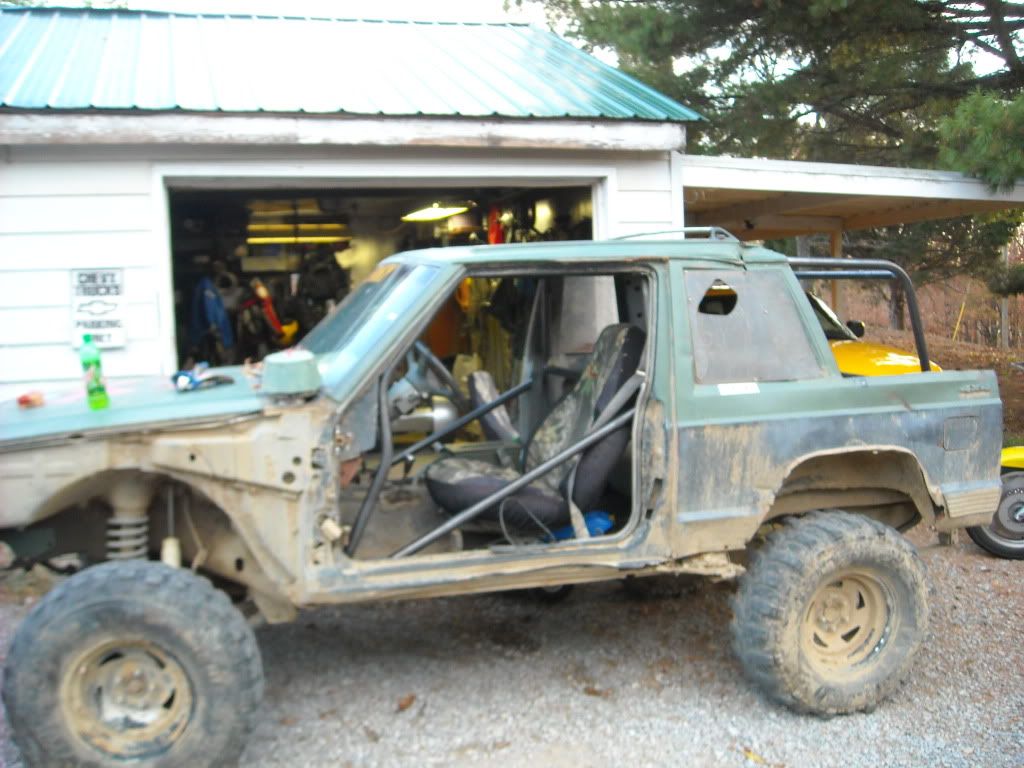
next i layed in the crossbar/belt bar
DSCN3724.jpg

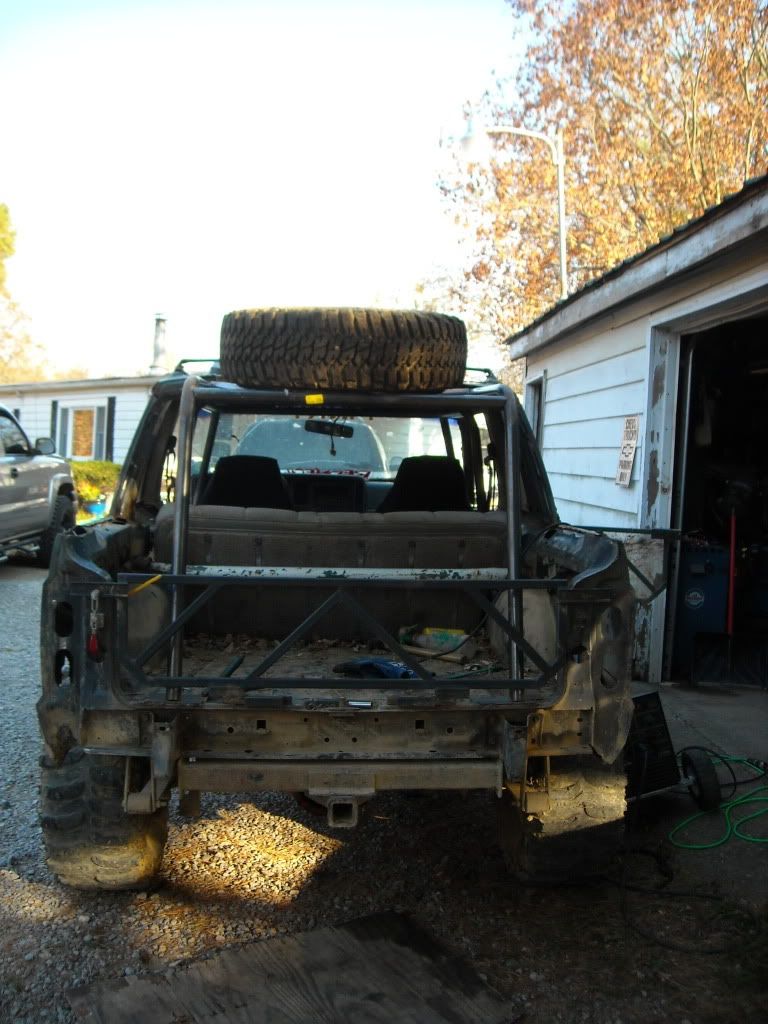
seat fitment is perfect. seat all the way back (where i drive as i am 6'2") the back lays nicely against the bar.
DSCN3725.jpg


just for fun, i sat in the back seat to see how it was, and even as tall as i am, there is still room back there. not gonna lie it is tight, but for a shorter person it won't be to bad, and they can hold onto the bar if need be. the only issue i see is getting in, which will be a pain now with it. but thats their problem i know where i always sit :lol:

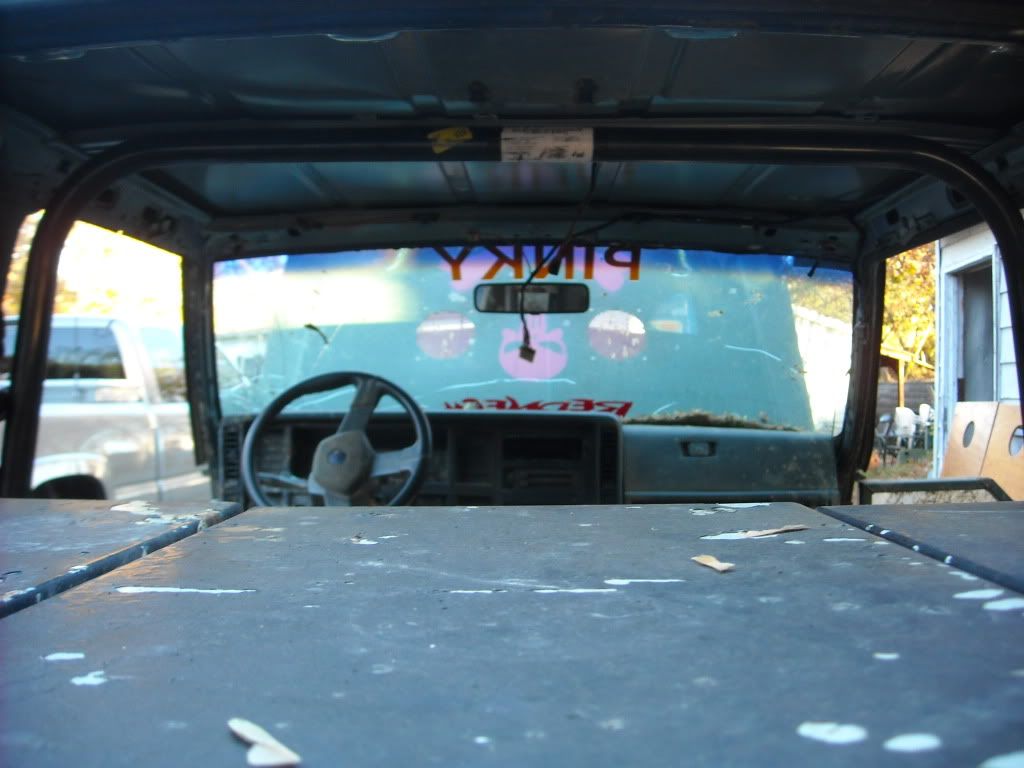
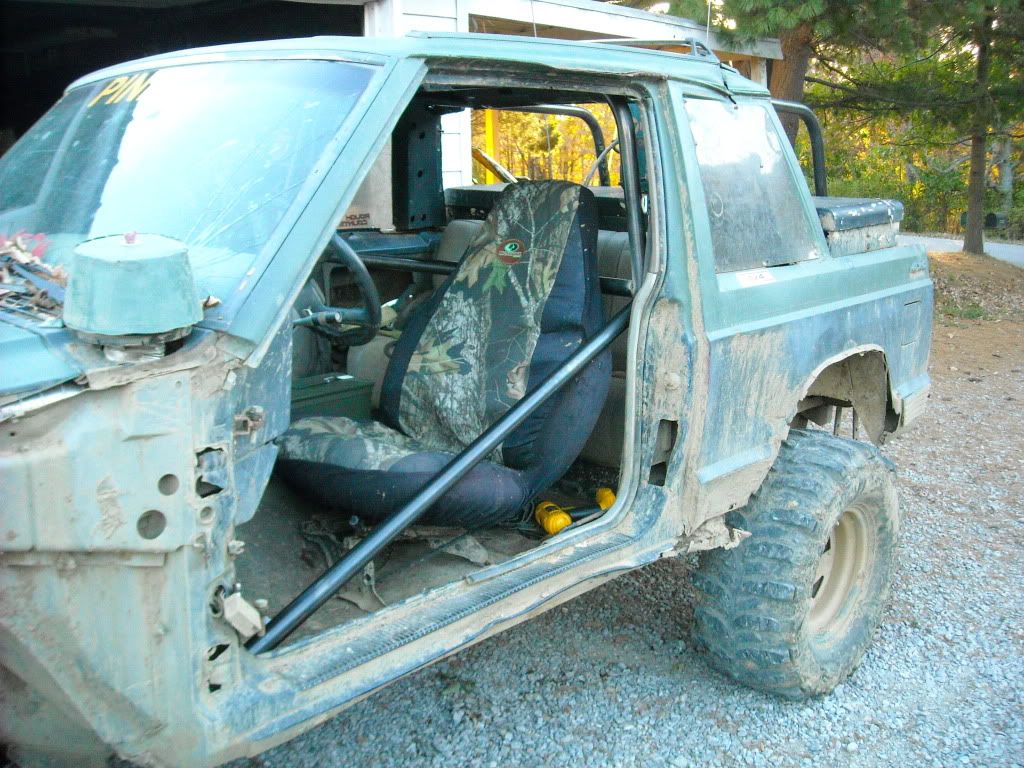
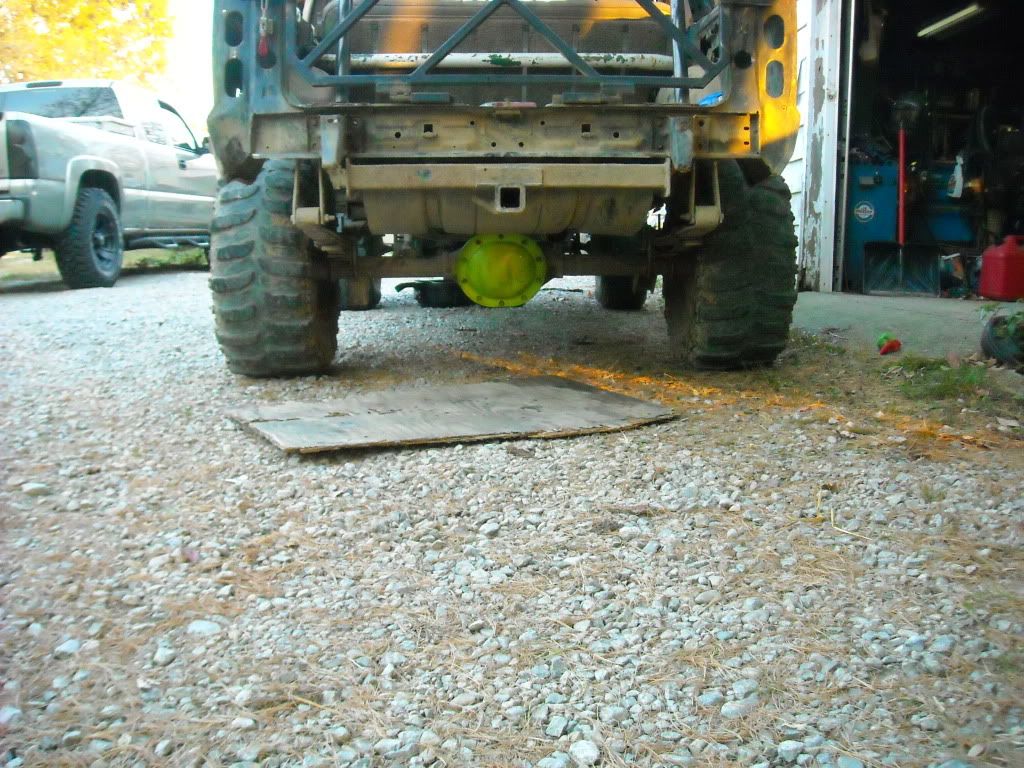
then dropped in a door bar just for an idea of how it will look. did not tack it in, as i need to install the Roof hoop and A-pillar bars first before i add them in.
DSCN3726.jpg


it does lay across part of the seat, but sitting it it as i normally do, i did not even touch it. a larger built person might, but i did not. however, getting in with the bar in place does require a bit of skill.

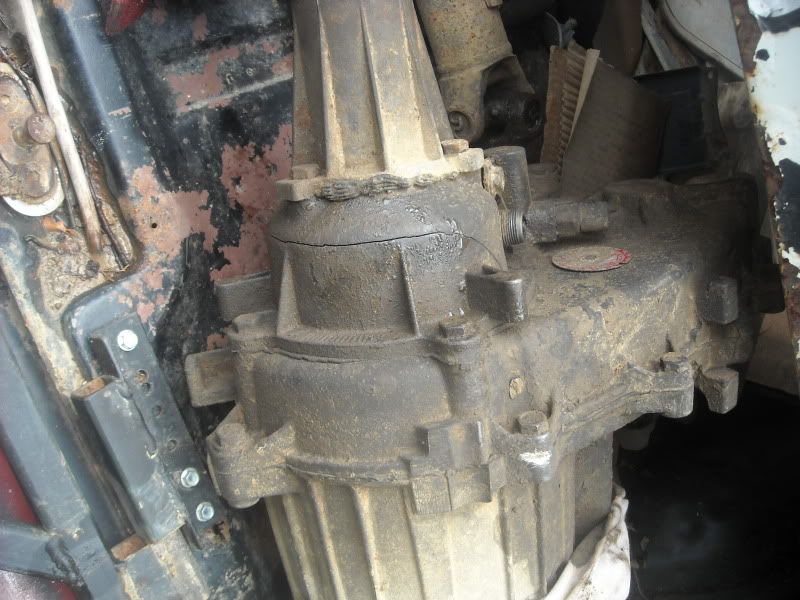
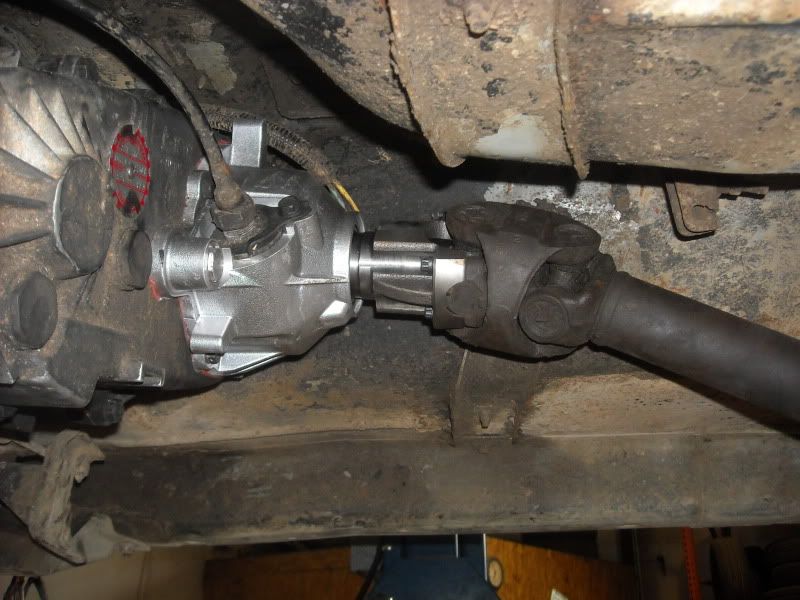
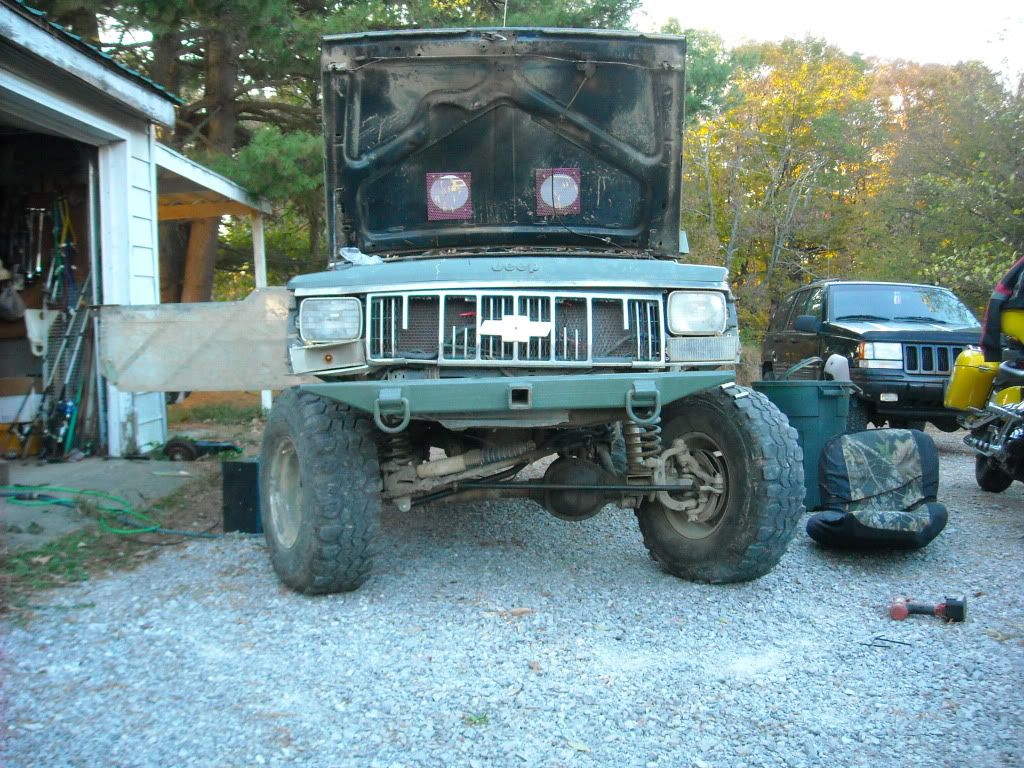
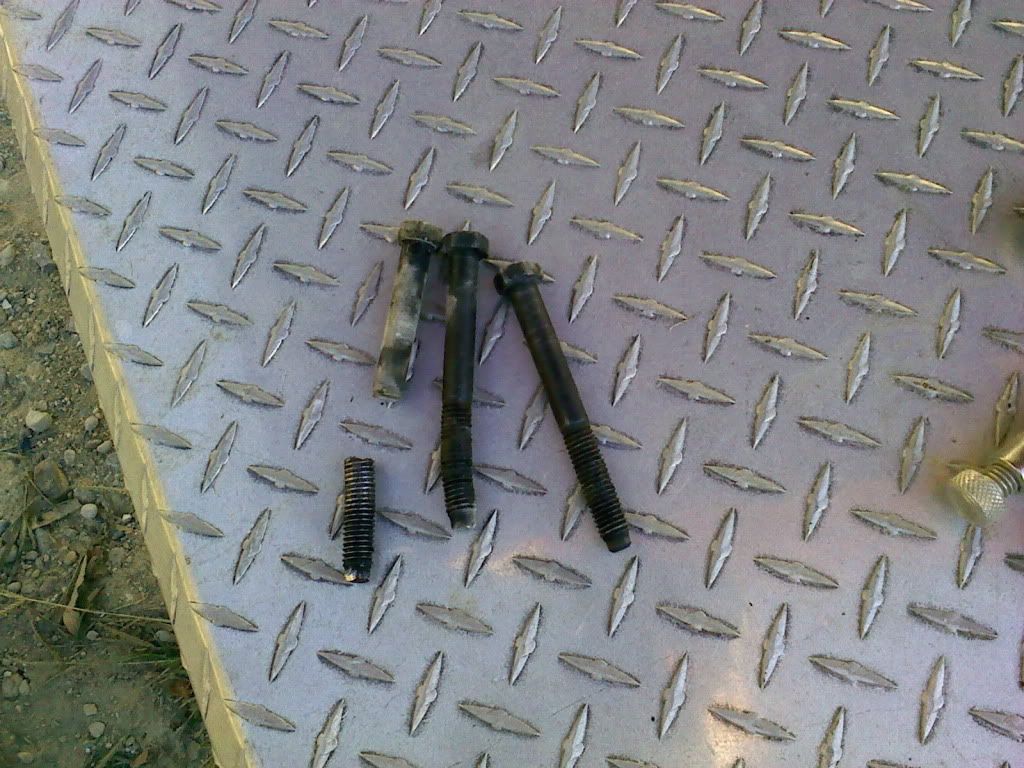
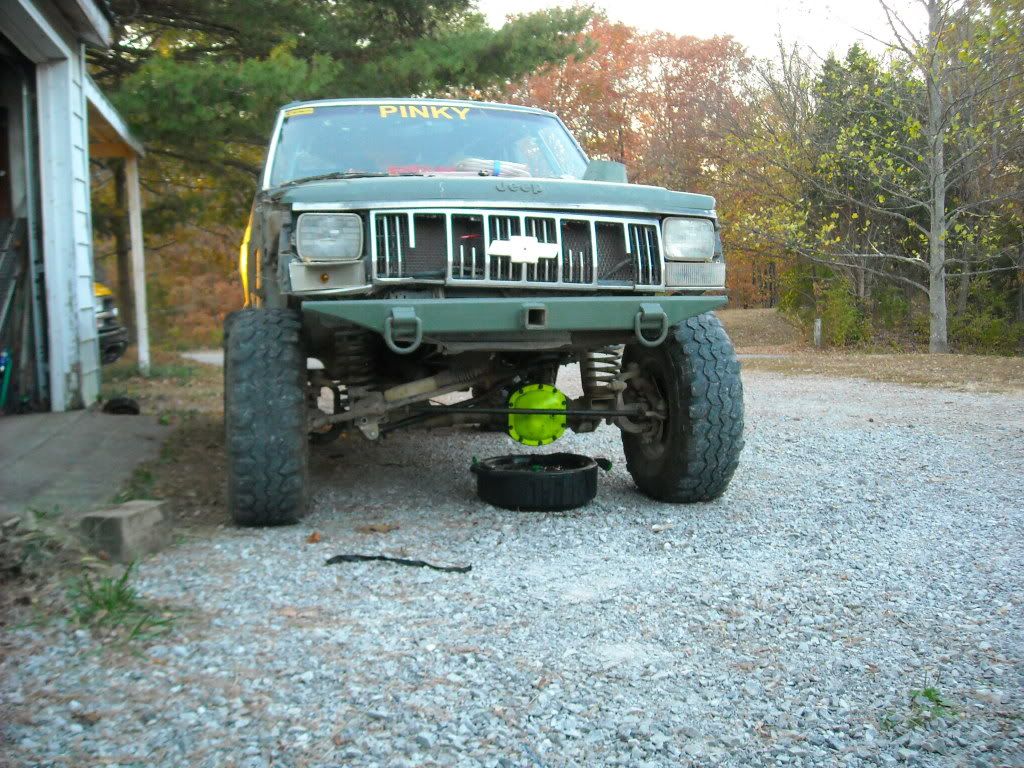
as i put it up for the night, i also created more work. Sheared Two bolt in my steering box jsut turning in my gravel driveway. so i gotta fix that before i can even more it again to begin to work once more.


but after that is fixed, then the real fun starts tomorrow as i have to hack up the dash to install the A-pillar bars.
 

Underpowered

Full Access Member
Joined
Mar 28, 2010
Messages
118
Reaction score
0
Location
Independence, KY
got the Steering box back on tonight. 3 new grade 8 bolts and i was set.
the old bolts. one broke, one bent, and one stripped.
1007101721.jpg


took longed than i anticipated to get the broken bolt out, but got it going again so i am set.

as far as the cage goes, did not get alot done. got the roof hoop cut and notched out, ready to tack in. started tearing apart the dash and it was a PITA. so, i was trying to do some figuring. I think if i put my A-pillar bars in on the wrong sides and upside down, they fit pretty well with the stock dash in place, so i think that is the route i am gonna take. no pics, as nothing really changed.


sad part, no more work till next tuseday most likely.
 

Underpowered

Full Access Member
Joined
Mar 28, 2010
Messages
118
Reaction score
0
Location
Independence, KY
got the a-pillar bars both tacked in, both door bars cut. not gonna put them in till i go to fully weld it all as the seat is a PITA to take in and out with teh door bars in.
drivers a-pillar
DSCN3727.jpg

DSCN3730.jpg


i am Not happy at all about how the passenger a-pillar turned out. once again had issues getting it notched correctly, so it is about 2" farther out than the drivers side is. looks like more due to how the dash is made, but is really only 2". more the angle of the bar and anything, as the mounting points both top and bottom are nearly identical, but the bar is turned inward more than the other side. i am not happy about it, but not much i could really do about it either one it was cut.
DSCN3731.jpg

DSCN3733.jpg


dash bar ended up being about 1/2" to short after it was all put together. gonna get a piece of pipe and make one for it.
but the bar that came with it got re-located to a cross brace out back.
DSCN3732.jpg


all in all, it could be welded in as-is. but i hav ea couple braces i am gonna finish up sunday most likely and weld it all in early next week. then off to paint and ready to wheel!
 

Underpowered

Full Access Member
Joined
Mar 28, 2010
Messages
118
Reaction score
0
Location
Independence, KY
Cage is tacked in fully and ready for final weld. :rocking:

added these braces to it today
DSCN3735.jpg


should make for a nice place for my spare to reside
DSCN3738.jpg


also, had some time so i changed the gear oil in the diffs as i know they have both been under water. rear looked great, brand new but the front was slightly milky. while the covers were off, figured i would shoot a coat of paint on them
DSCN3739.jpg

DSCN3740.jpg


hoping to be able to fully weld the cage in tuesday and wednesday nights this week, then paint it this upcomign weekend.
 

Members online

No members online now.
Top